Computers, Self Hosting, and Linux
Home
Computers, Self Hosting, and Linux
Halloween Yard Display
Ham Radio
Misc
Pirate Box Part One 8/2026
Introduction
I believe that the free flow and access of information is one of the most important parts of a free society. The actions of the current government are anything but. Important information about
things such as climate change and vaccines is being modified, withheld, or flat out removed from access. At a more local level, we see local and state governments as well as school boards working
to ban books from libraries and schools. A lot of times the reasons are simply that there is a gay character or the book deals with confronting some of our hard past, such as slavery. I
believe that it's important for people to have access to this. A gay teen might see themself in a character from a book and feel less alone. An adult might understand climate change better
and be better able to defend against misinformation.
You might argue that nothing is banned, since these books can still be bought on amazon or at local bookstores; you would technically be correct. However, removing them from schools and libraries
effectively removes them from a large part of society because books are expensive. I can't speak for wherever you live, but where I live, a large percentage of the population is low income
or even below the poverty line. They can't afford to buy books, so most books are sourced from the library. If those books are removed, they can no longer be viewed by a large percentage
of society. The hope of this project is to increase local access to this important literature and information, even if for a small part of the population.
First, a rundown of how this project will work: I have an old laptop that currently has windows 10 on it. Install Linux, install an ebook web app, install Kiwix server, set up a firewall.
This will all be covered in this part one. In part two, I will cover how I got the signal out to the public and some final software things to make it easier to use. I will be using an old wifi router connected
to the laptop as an access point. Okay, now let's start.
The Computer
Any old computer could be used for this. It does not need to be powerful, it does not need a lot of storage space, it does not need dedicated graphics or even a working screen. A raspberry pi,
old desktop or laptop, or a mini PC would work okay. But, a couple things you should look for. New enough to run a 64 bit OS, since more and more OSs are dropping 32 bit support. At
least a dual core processor. Minimum of 4 gigs ram, 8 is better to allow for any potential growth if you decide to add more things than I included. 256 gig SSD or NVME. 512 or more would be better,
but I know that storage space is expensive thanks to AI right now, so tried to keep the storage requirements low. And finally, while a desktop or giant old laptop could work, I would recommend
that you use something small and easy to conceal. I won't be hauling it around, so it doesn't need to be tiny, but needs to be moveable easily. I settled on either a mini PC or small laptop.
Now, one of the cool things about my job is I'm allowed to raid the E-waste bin. I have a pretty good working relationship with the IT department and they are just happy to not have to pay
someone to dispose of things. So I dig in the pile all the time during lunch breaks. One day, I found a little Lenovo Yoga with a 13 inch screen and power adapter. I plugged it in and tried
it, it booted right into windows 10 and everything worked. It was tossed because it doesn't run windows 11. That's okay, I'll be dumping microslop right away anyway. It has 8gb ram, 256 gb NVME,
intel core I5 processor, no battery, a beautiful touch screen, and it works!
Installing Debian
Now that I have the computer, it's time to start doing some software replacement on it. While you could probably get away with keeping windows on it, and if that's your jam, then go right ahead,
I'd recommend replacing it with Linux. Mainly because Linux tends to be lighter and less spyware intensive than windows. My plan is to have this project completely disconnected from the internet,
so I'm not too worried about the spyware, but having a lighter system on this older laptop will help a lot. Even windows 10 was dragging on it. There are a lot of options for an OS. I decided
to go with Debian 12.15. Why? First, I already had the ISO on a flash drive from another project. Second, Debian is extremely common and many other distros are based on it, so documentation
is plentiful. And finally, it's lightweight.
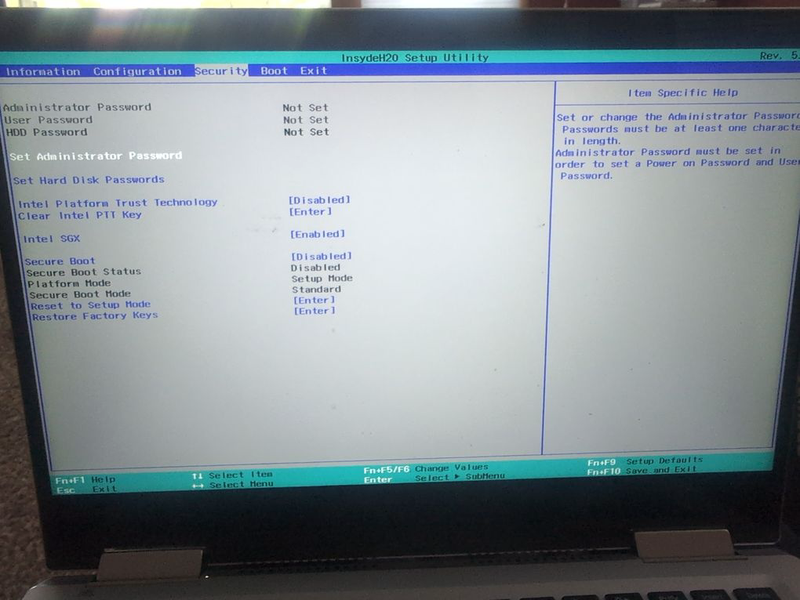
I plugged in the flash drive, booted up the laptop and went into the bios, disabled secure boot and fast boot. Set USB to be the first boot option, and booted into the Debian installer.
I chose to have the installer install the apache2 web server and an SSH server so I can access a command line at least. You will also need to set up users during the install. One of these will
be the root user, generally not used unless doing high level system tasks. Set a good password for it. Then, create a regular user. This will be the normal user that the system runs under.
Also set a good password for this user. Finally, while I know this might get some anger from some in the Linux
community, I installed a desktop environment. The installer gave me a choice of many different environments. I chose cinemmon because it's fairly lightweight and I'm familiar with it after having used Linux Mint for a long time as a daily driver. Having
a GUI makes some things much easier, especially searching for files. It's also nice to have the ability to pull up a web browser right on the same computer if I need to look up a terminal
command or troubleshoot anything. If you want to go terminal only with no GUI, feel free to do so. After choosing all my installation options, I let the installer do its thing. After a restart,
I had a Debian 12.15 install booted up. On to the software.
Giving Non-Root User Sudo Access
First, we need to give our non root user sudo access. Log into the root account, username will be root, password will be whatever you set. Pull up a terminal. Type, without quotes "usermod -aG sudo YOUR NONROOT USERNAME".
You might need to type sudo first and enter your root acount password. Now type "groups YOUR NONROOT USERNAME". This will provide a list of groups your username is part of. Sudo or Sudoer should be in that list.
If it's not, you probably missed a step. If it is, you're good to go. Log out of the root account and into your regular account.
Install UFW Firewall
Second, we will install a firewall. UFW, or uncomplicated firewall, will do what we need. Since the system will be disconnected from the internet upon completion, you might be able to get away
with not installing a firewall, but keep in mind, you are giving strangers access to this network either way. So I'd do it. First, open a terminal and type "sudo apt update". Enter your password when prompted.
Please note, your password will not show at all on the screen in the terminal. It will look like you are not typing. This is normal. Just type it as if it's showing up and hit enter. This will refresh
your software sources. Then type "sudo apt install ufw". Answer y if prompted and hit enter. This will install the firewall. Finally, "sudo ufw enable" to start it after install.
A few helpful commands for ufw. "sudo ufw disable" disables the firewall. "sudo ufw status verbose" will verify that the firewall is enabled. To open ports, "sudo ufw allow PORT NUMBER".
Some programs have preset ufw profiles to automatically set ports. Let's set up one. Type "sudo ufw app list". A list of programs will come up. One of them will be SSH. Then type "sudo ufw allow SSH".
This will enable SSH port access. Another one we need to enable is www. This will open ports for the apache web server that we installed during system setup. Type "sudo ufw allow www".
This should be all the prep work you need for now on the firewall. There will be a couple more times we need to access it and I'll call them out as we go along.
Install Kiwix
Third, we will install kiwix. A little about kiwix for those who don't know what it is. Kiwix is a program that allows access to downloaded, highly compressed versions of websites. For example,
all of wikipedia (and many other wikis), ted talk videos, there are some youtube channels available, all kinds of cool things. The program also has a server function, so anything with a web browser
can access the kiwix landing page and access anything that has been saved in the kiwix directory. Kiwix uses a file type called .zim. Zim File Downloads
Following that link will show the page of everything available on Kiwix. Go ahead and browse it. All the files are available for download. Now that you have an idea on what is available, it's time
to install kiwix. We are just going to go into the software center and install it from there. On the desktop, open the menu on the bottom left (same location as the windows start menu), type "software", and click
on "Software Center". Search kiwix, when it comes up, install. Enter your password when prompted. It might take a minute. Once it's installed, open it. Go to the hamburger menu in the upper right
of the kiwix application and click settings.
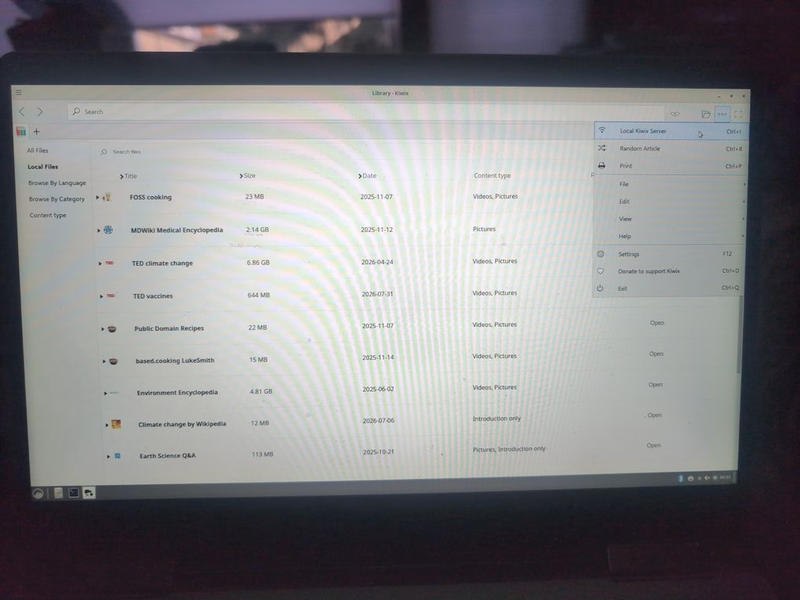
Click "browse" under monitor directory. Set it to the same directory as listed under download directory. Take note of this, this is where you save your
zim files. If you don't set the monitor directory to match the download directory, your files won't automatically show up in the program. Now, click the hamburger menu again and click Local kiwix server".
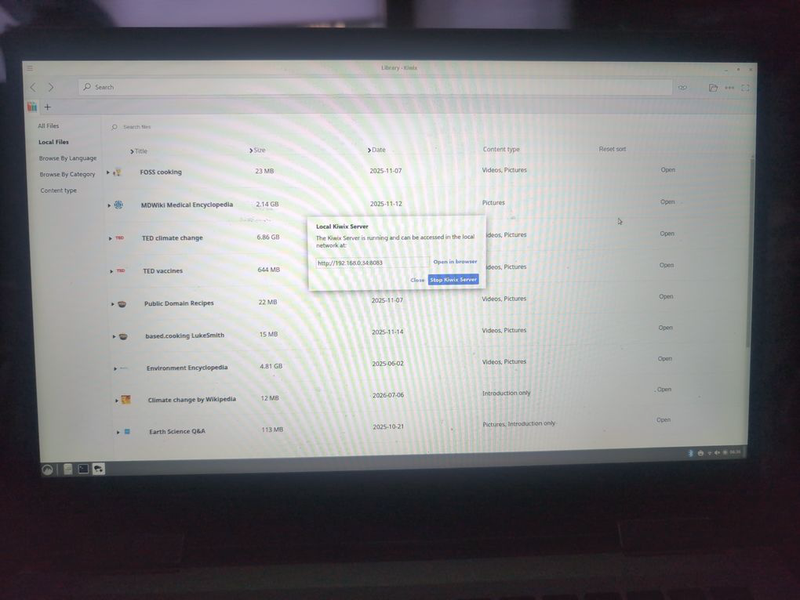
A small window will open. Set your port. I used 8083. Click start. You will see your IP address and the port number in the window. Copy and paste into a web browser and see if you can get the
blank main page of kiwix. Your web browser might give an error. Why? We need to open up port 8083 in UFW. Go to your terminal, type "sudo ufw allow 8083", hit enter, type your password, hit enter again.
Now try accessing your kiwix server again and it should come up. Here is what I added, wikipedia without pictures (about 50gb), ted talks about vaccines and climate change, ready.gov, (all available on the kiwix website) and finally Pre Trump CDC zim
Place these zim files, and any others that are interesting to you, into the monitor directory you noted earlier. Kiwix will need to be restarted, and the server started back up. Go back to your web
browser and try accessing your kiwix page again. You should now be able to access all your zims. Browse a few of them and make sure they work. You now have an offline accessible internet.
Install Kavita E-Reader
Fourth, install a web accessible ebook reader. I am not going to go into where to get your ebook downloads. Just make sure they are in pdf or epub formats. They also can't have DRM on them.
I'll let you figure out how to get them. I went with a selection of books about LGBTQ issues, racism, climate change, fighting misinformation, and similar things. I also added some classics such
as H.G. Wells, Jules Verne, Mark Twain, and similar. Now, I decided to go with an ereader program called Kavita. Kavita Download
Download the x64 version. Don't use the arm version unless you're on a raspberry pi or similar. Once it's downloaded, right click it and click extract here. Once it's extracted, go into the
folder and double click the file named kavita. You will need to do this every time you restart the computer. We will fix this later. Kavita uses port 5000, so go to your terminal and type
"sudo ufw allow 5000". Now go to your browser, enter your IP address in the address bar followed by :5000. You should see the setup wizard for your Kavita install. Take all your ebook files. Put them
in a folder called Banned Books or similar. Put that folder into another folder called books. Your ebooks should be in a books subfolder inside another folder called books. That folder then goes in
your documents folder. Go back to your Kavita in the web browser. It will have
you set up an admin account. Once it's set up, log in. Click the gear icon on the upper right for settings. On the left find libraries. Click it. You will see an option to add library. This is the
option you want.
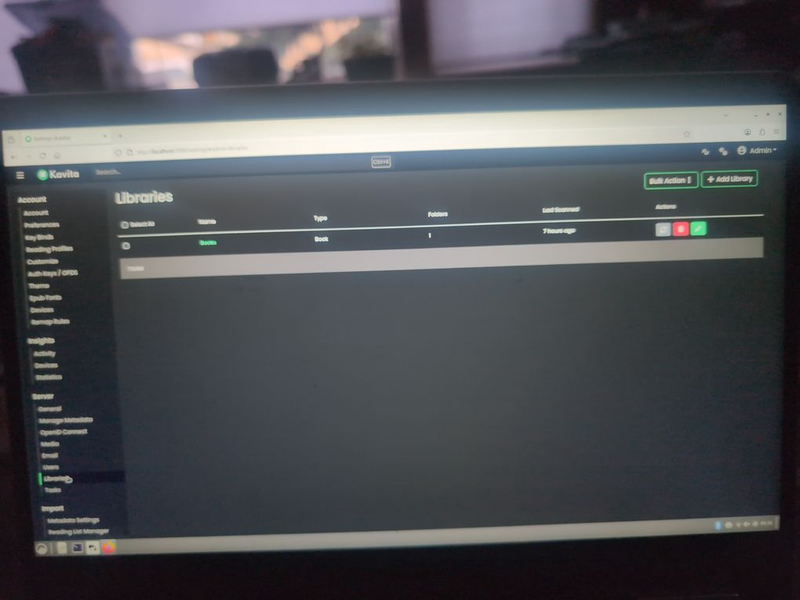
Navigate to your books folder (not the banned books folder-this is important) and it will search the folder. You should see all your books pop up on the main page. Congrats! One more
step here. Click the gear icon again. Now find and click on users along the left side.
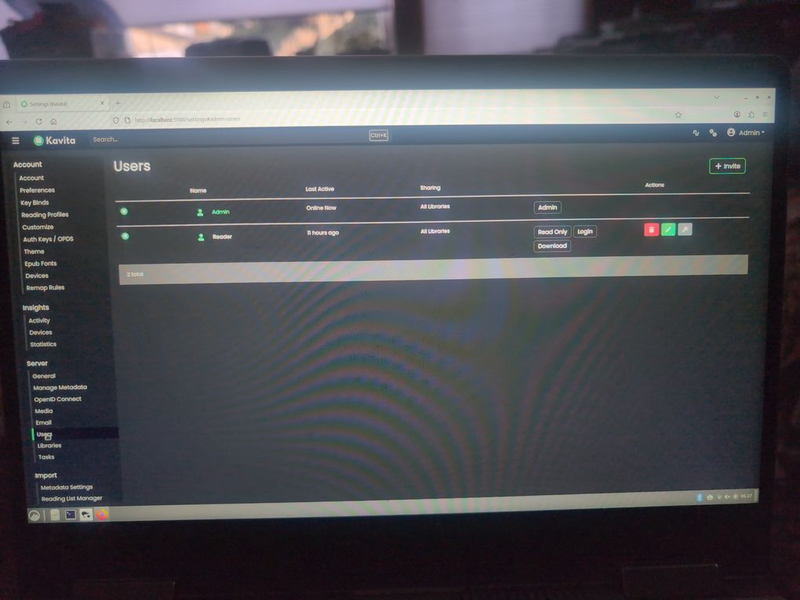
Click the invite button. Under email, type the username you want for the non admin user. I used "Reader". You don't
need to enter an email. Select the following options on this page: under libraries select Books, on the right of the page, select read only, login, and download. Follow the directions to create a new user.
I made a simple password. At this point, both your kiwix and book servers are online and passed through the firewall. In the next section of this guide, we will set up things to start automatically upon
boot, set up a simple intro web page with basic server info, and set up a router for offline access to anyone within wifi range.
Pirate Box Part 2